On May 10th, I lead our 1/2 day teacher Professional Development, with support from the Philadelphia Collaborative Teacher Center. The plan was to create an activity for our staff to participate in directed towards improving school collaboration and culture, improving team building and strengthening community.
At first I struggled to come up with an idea. Whatever we decided to do, I wanted to be sure staff were collaborating, that they engaged in an arts based activity, and that they could be proud with the end results. Eventually, as I was walking in our quite bare stairwell, I had the thought of mural painting. But how could I create this for the staff to be successful?! Simple- geometric masking tape murals!

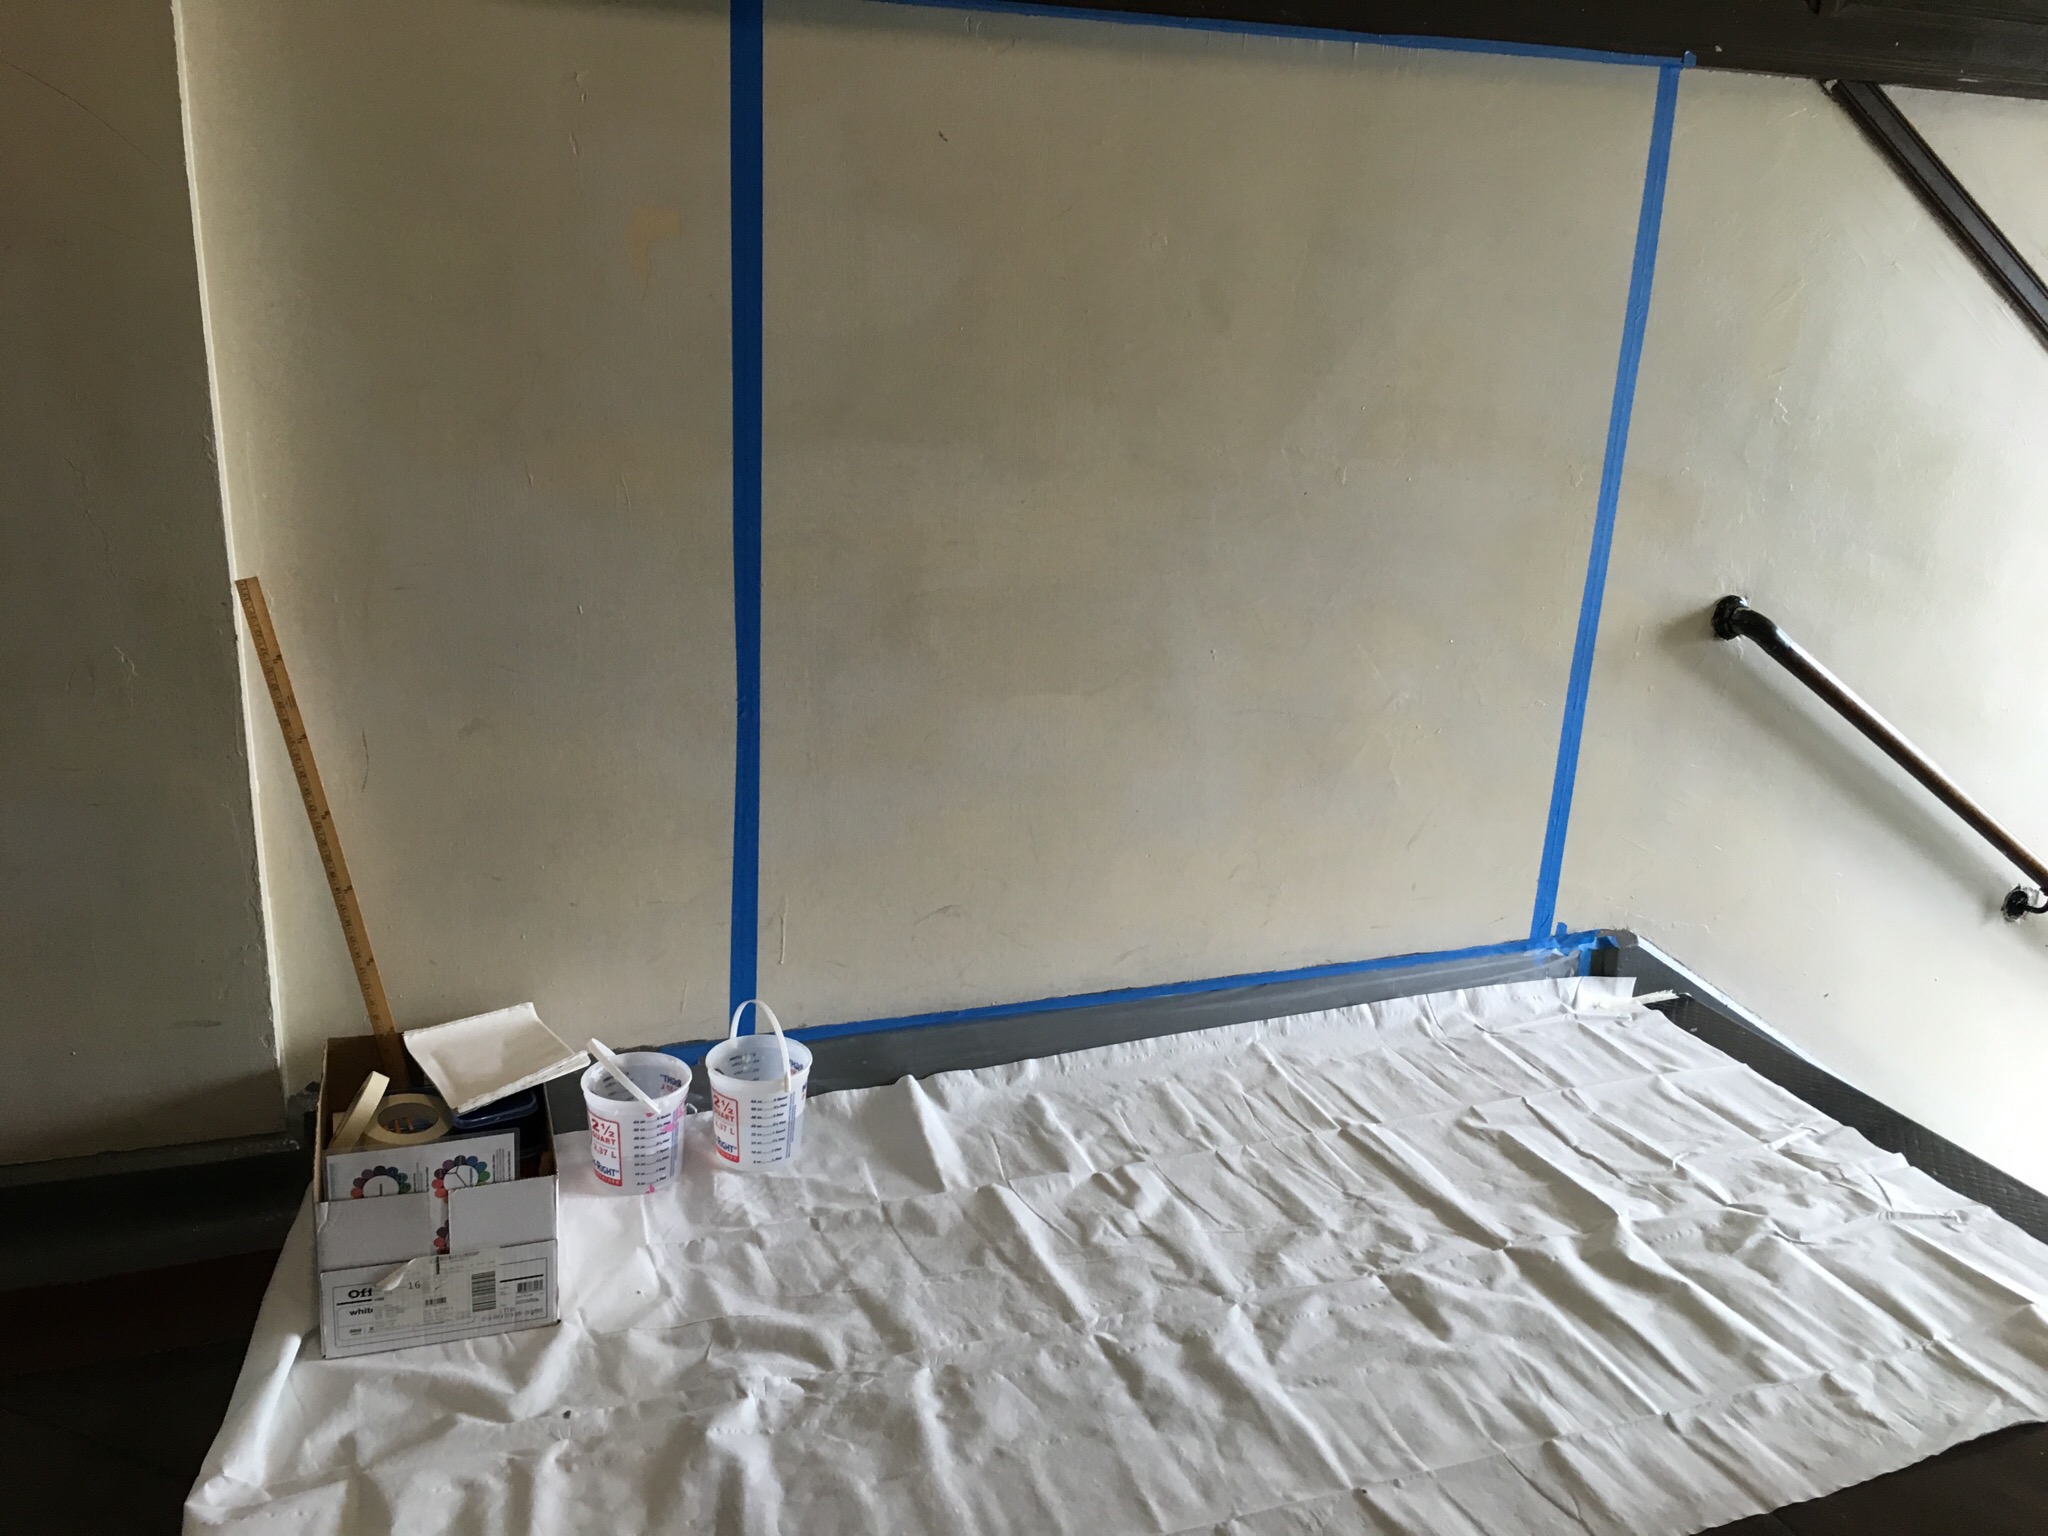
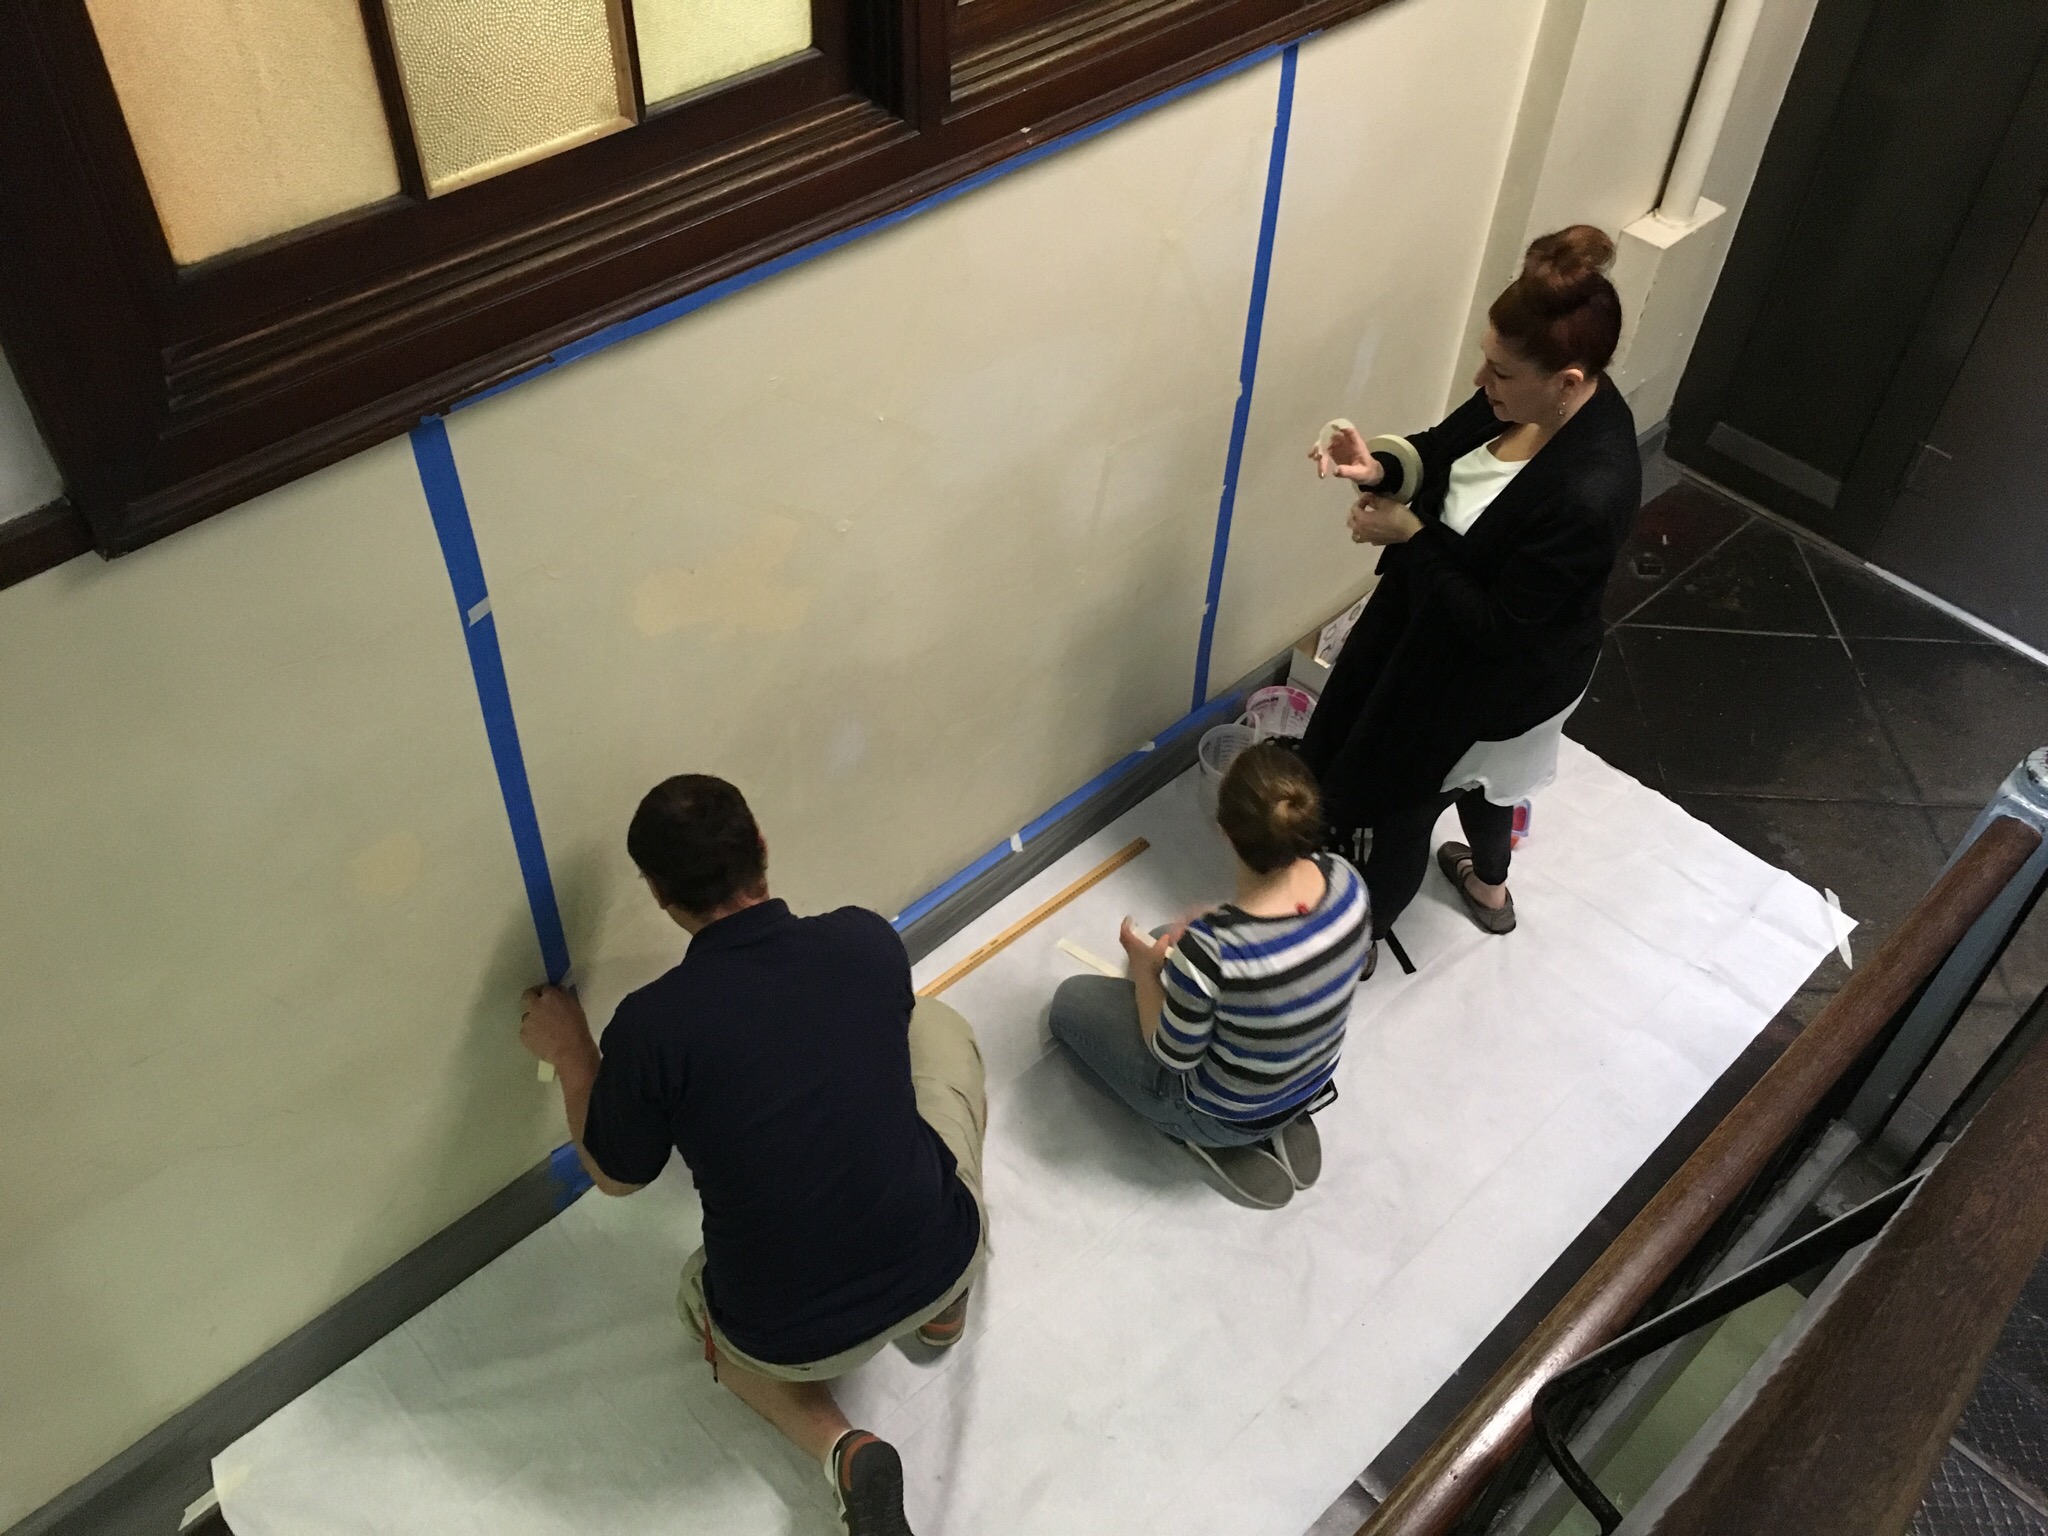
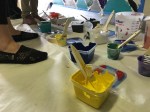
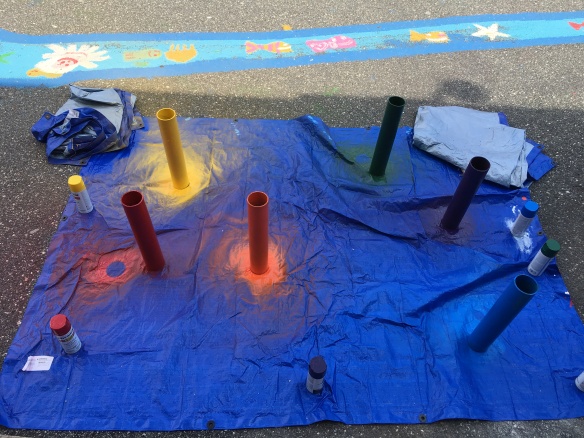
The 5’x5′ area taped off and taped with paint and supplies in the box.
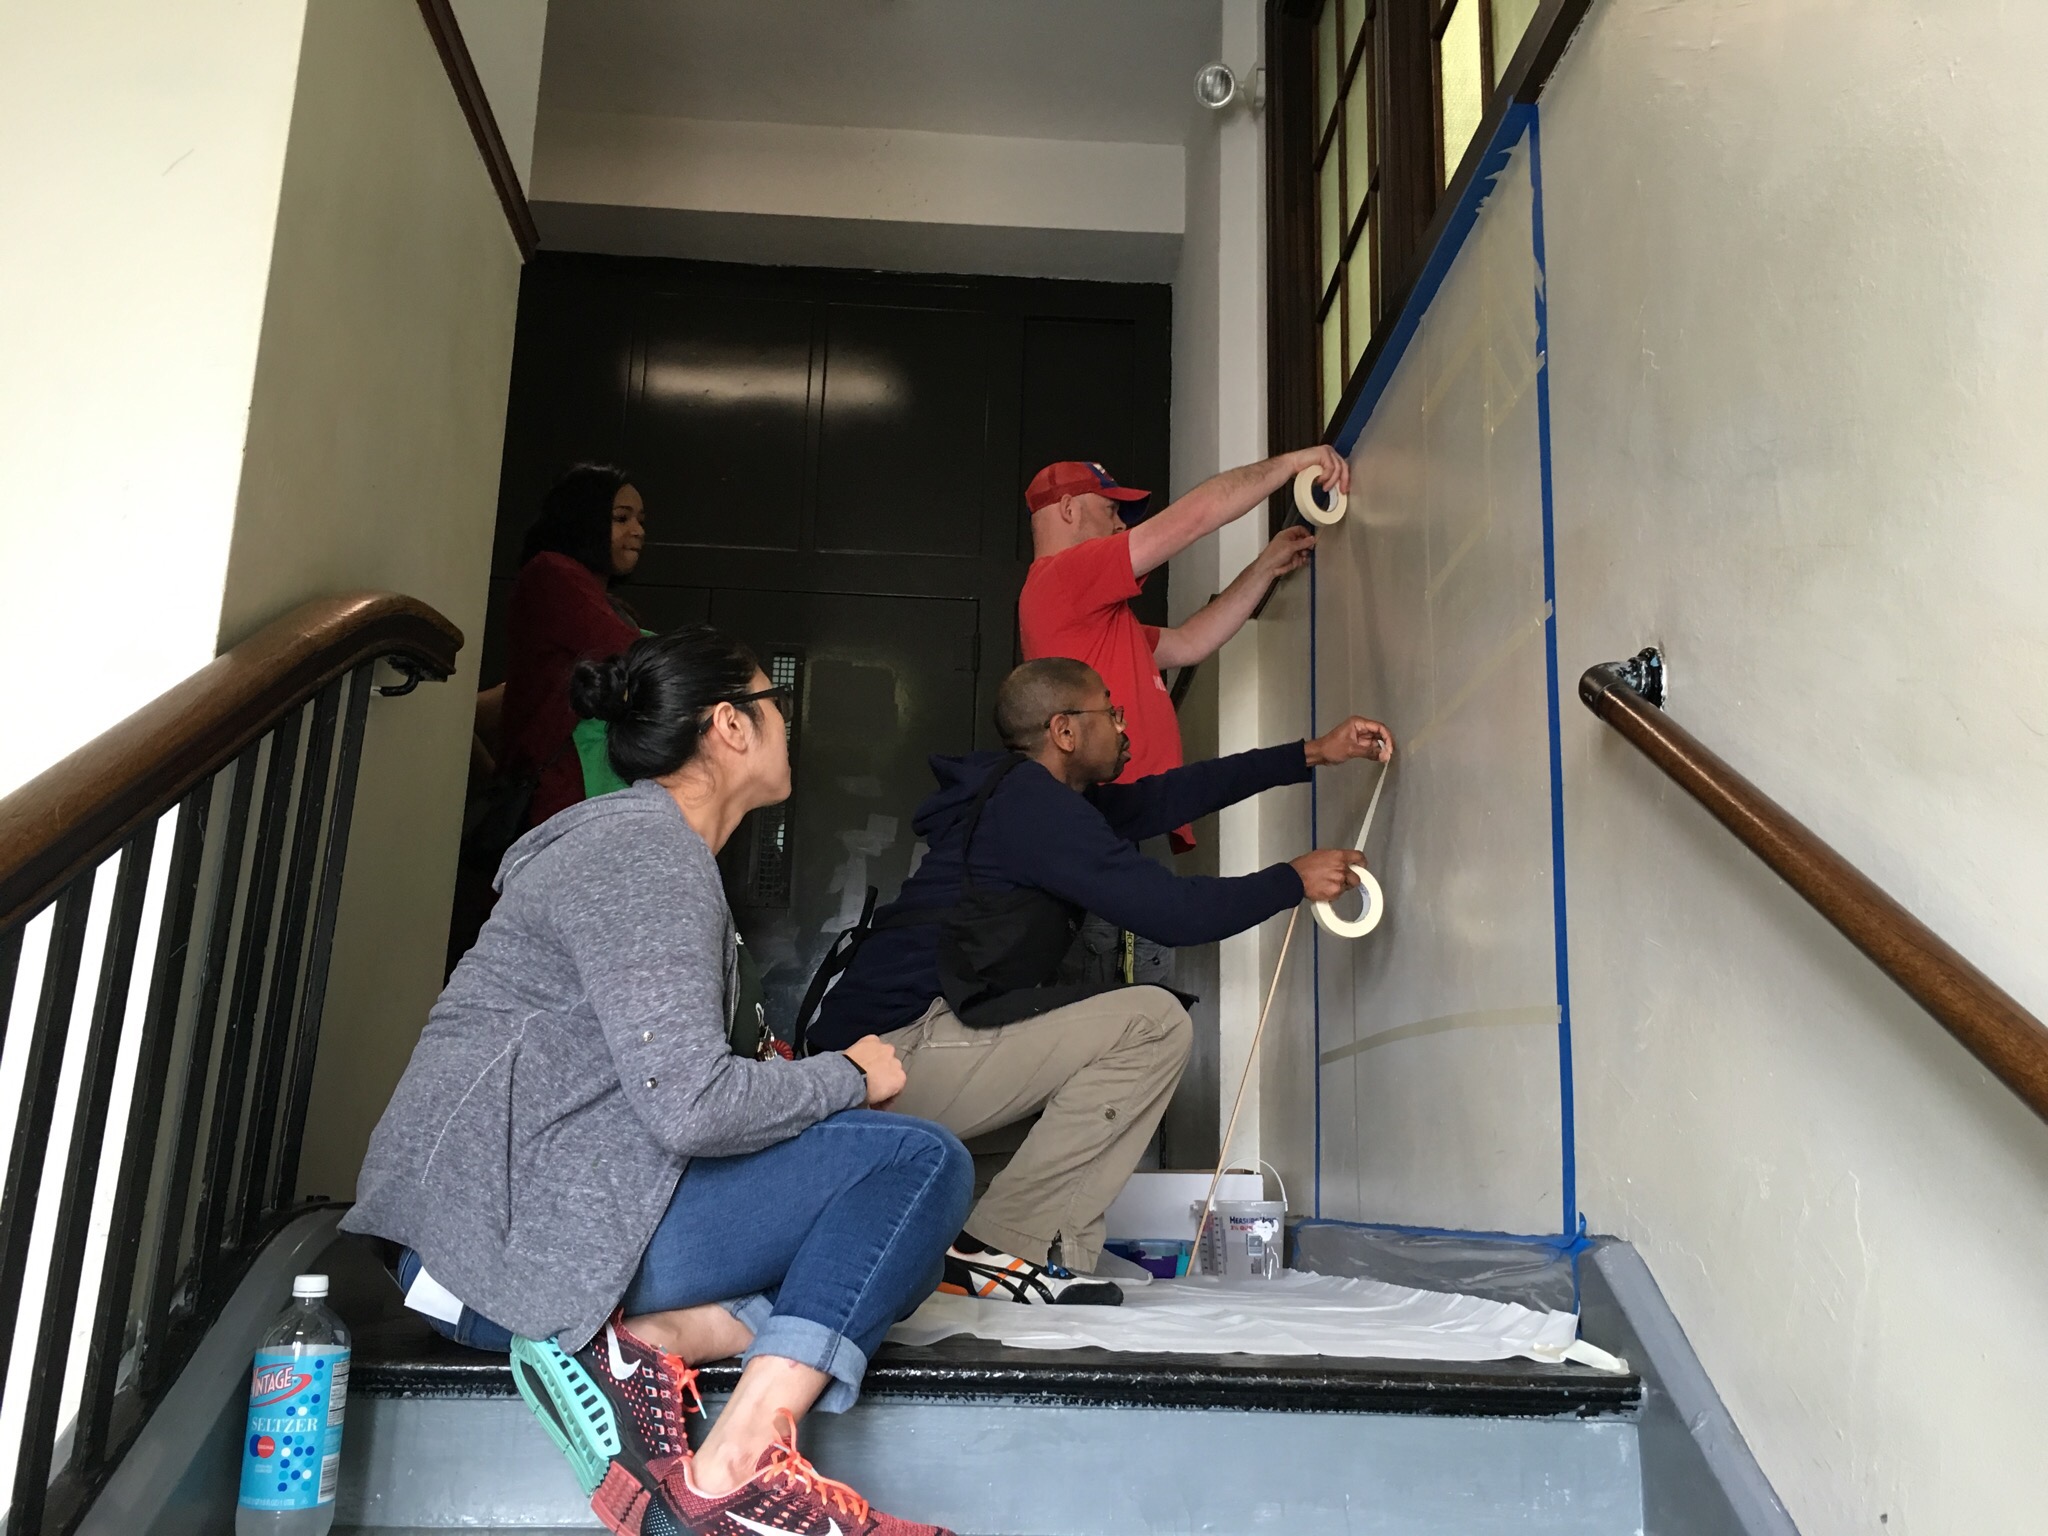
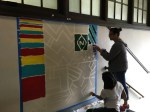
I began by showing a super brief Power Point, showing examples of what masking tape murals look like, discussed how they should divide up their time, and ways in which they could create the geometric shapes. The presentation lasted at most 15 minutes. I wanted teachers to get painting as soon as possible. On each floor I taped off a 5’x5′ area in the stairwells. Staff worked together with all who worked on their floor level. I prepared and provided a tarp and plastic to protect the ground, masking tape (just the basic stuff here- not painters tape), paint, paintbrushes, mixing spoons, paper towels, a yard stick (in case they wanted to get technical), mixing cups, and buckets of water. Once they got to their painting station, they dove in.


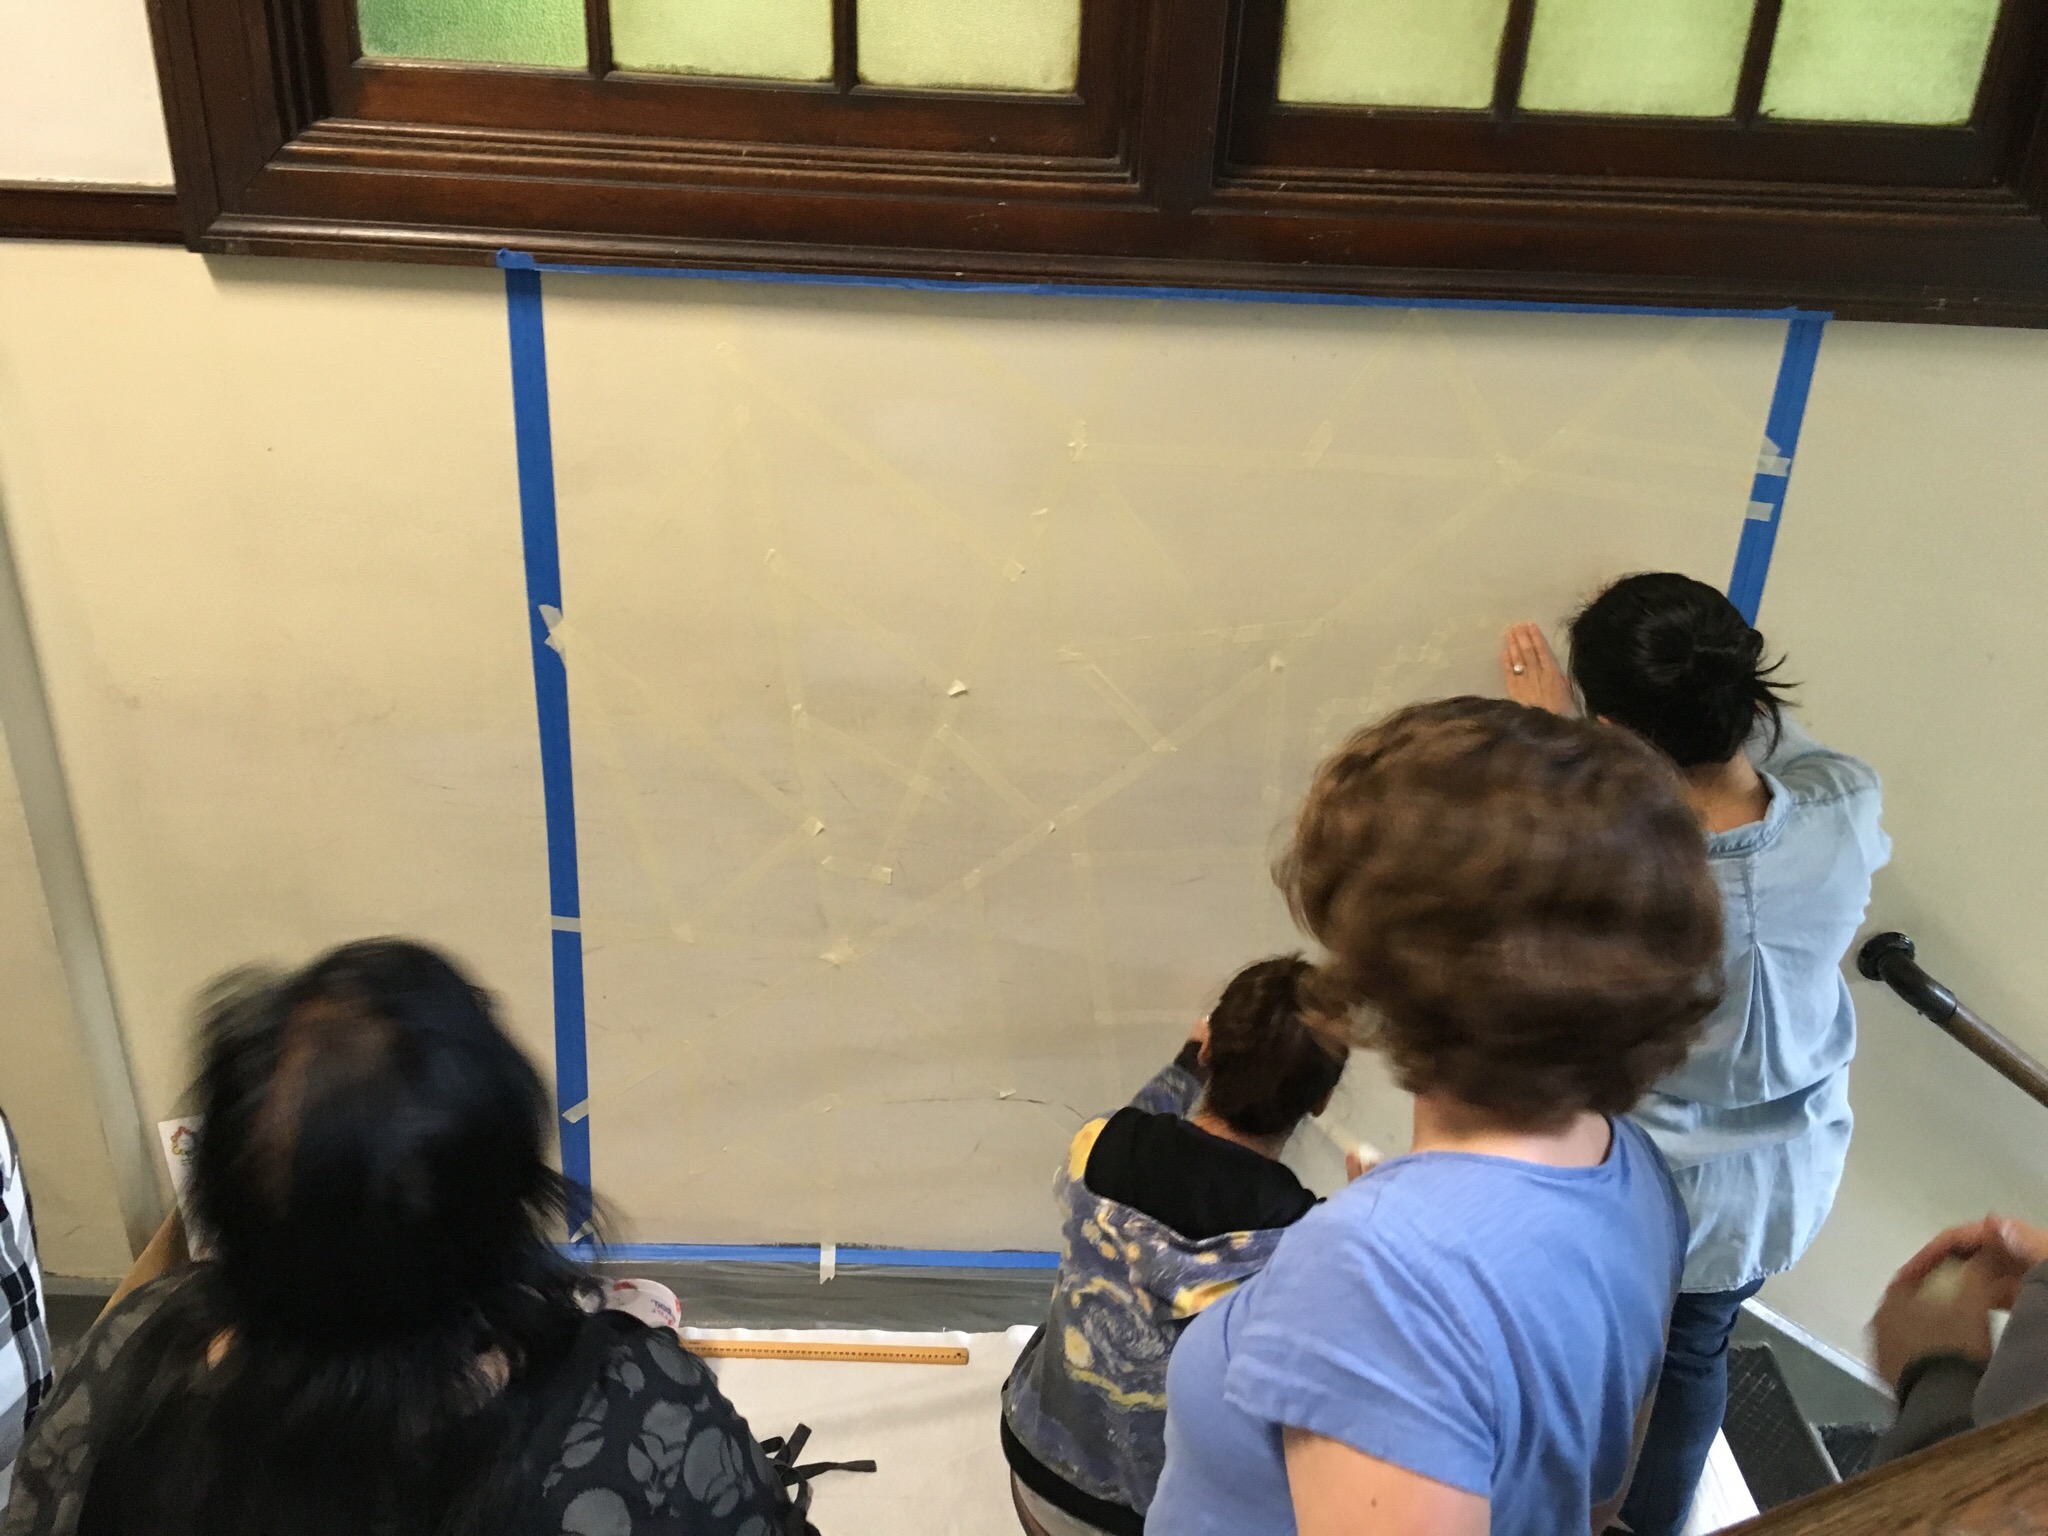
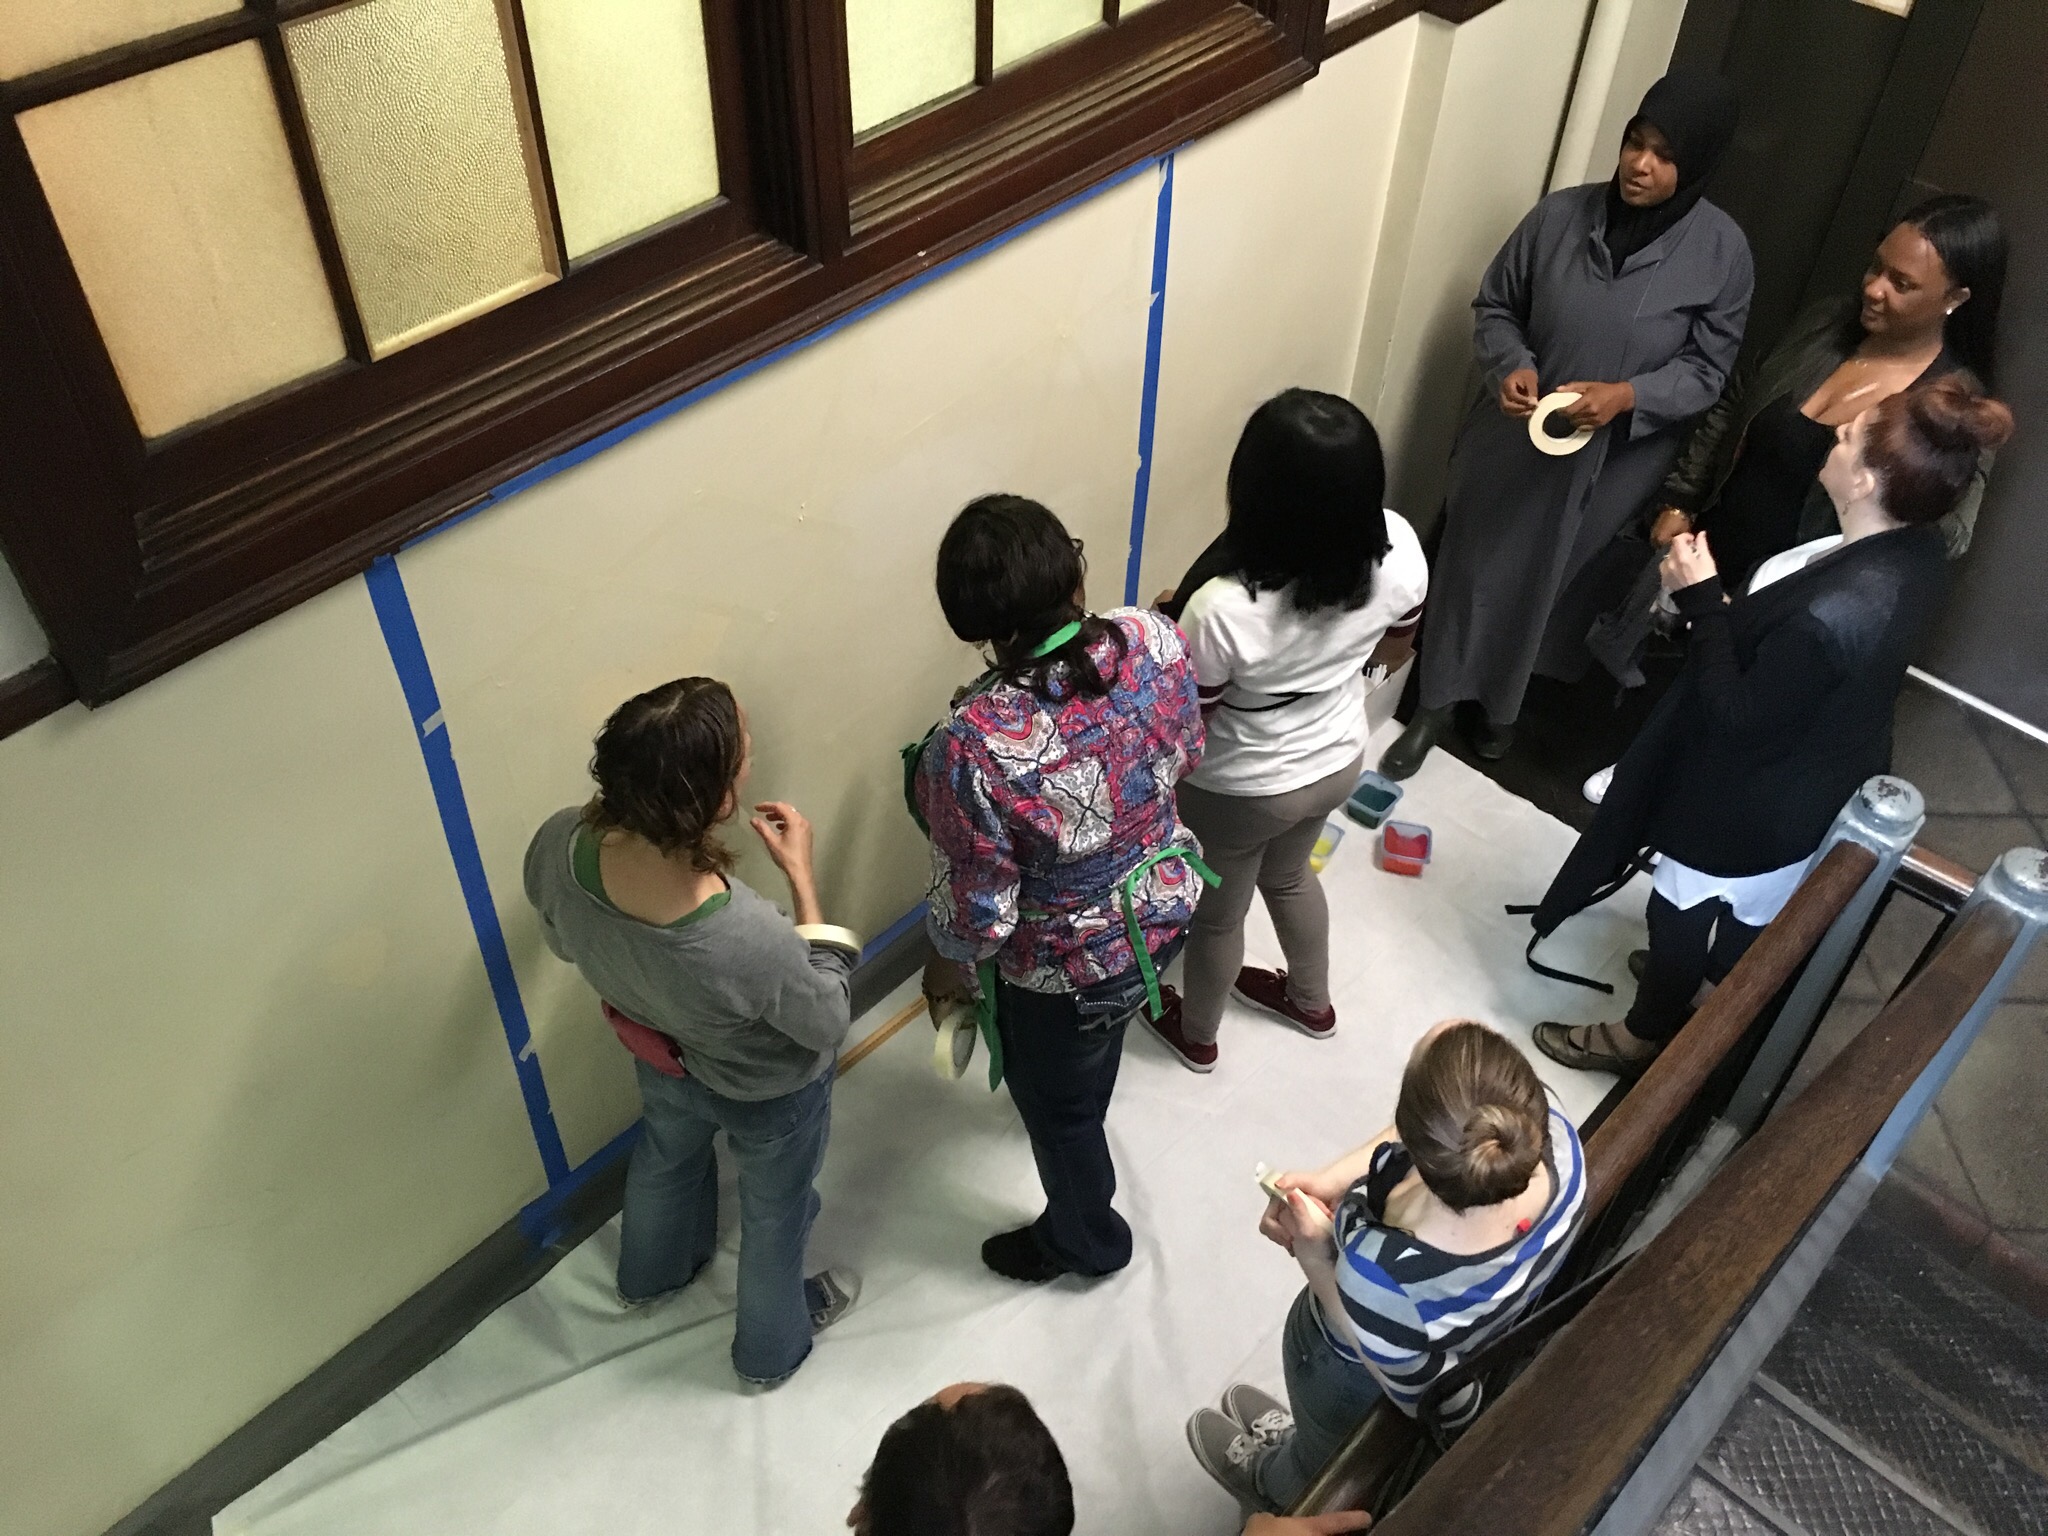
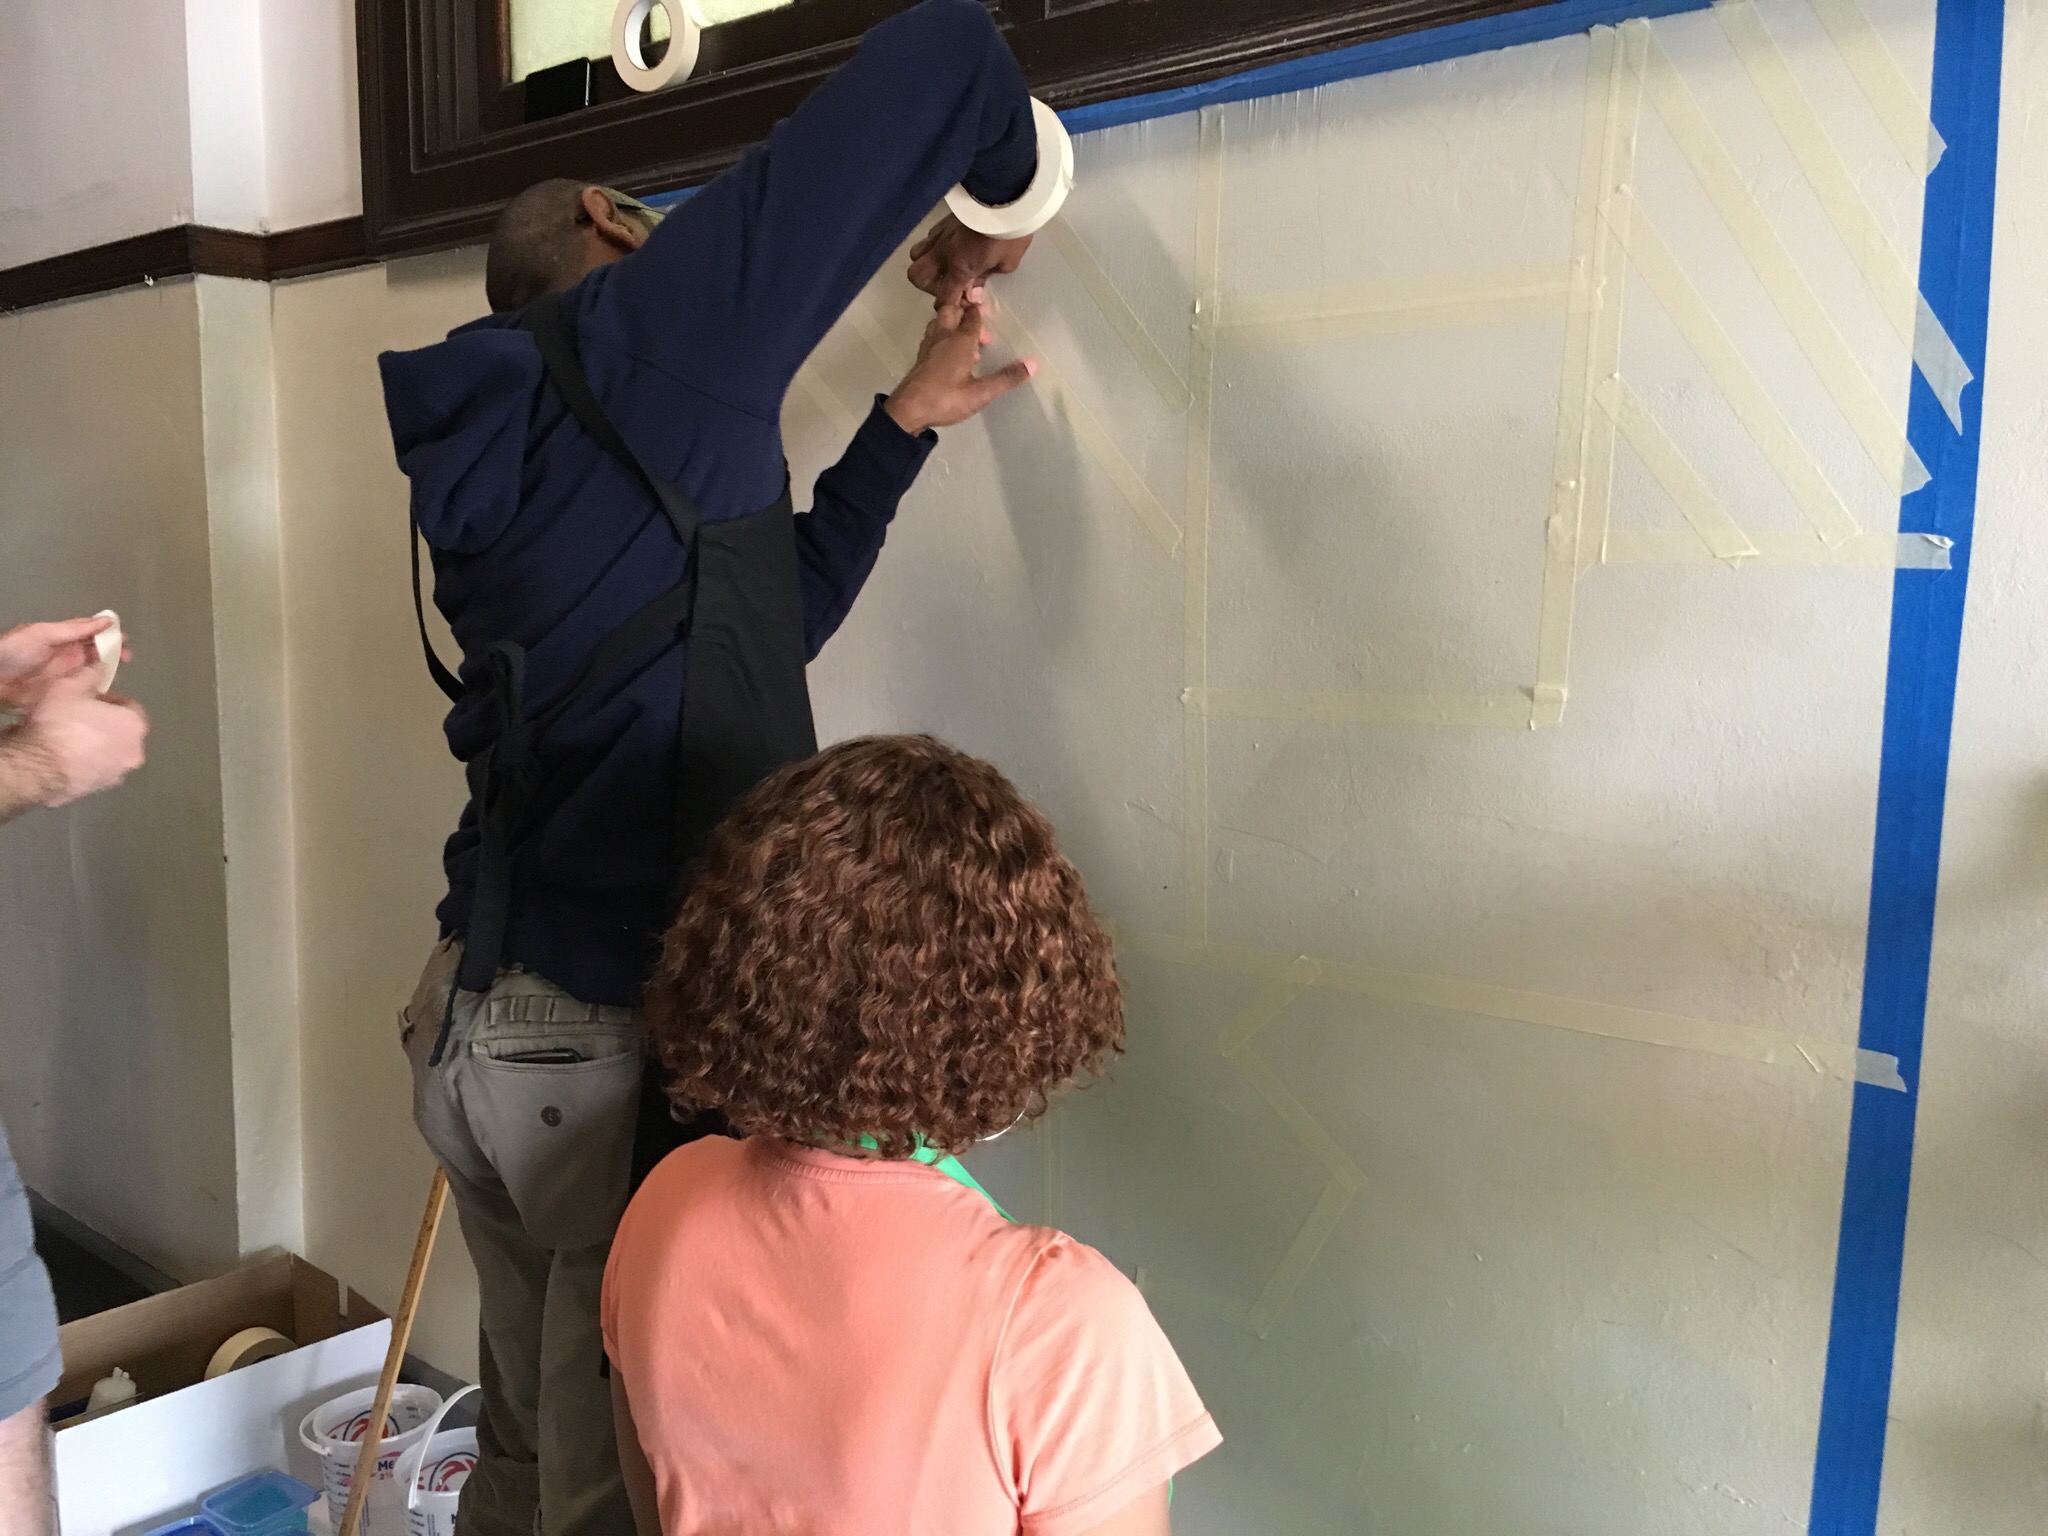
It was so exciting to see all the staff’s creativity on display as they began to plan their designs.
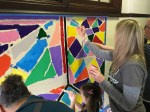
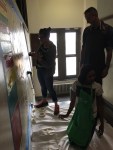
Each floor’s design was so unique, and everyone seemed to work together smoothly to create a finished mural in under 2 hours!! 2 hours!!
I still have some touching up to do where the tape took a little of the wall with it, but that’ll be no biggie.
At the end of the day, after painting, I had teachers respond to at least 2 of 4 prompts I had posted. Here are some of my favorite takeaways:

The post it note post session prompts
Enjoyed about the PD:
“Everyone came together as one. Everyone’s idea and vision was respected.”
“Using creativity and we got to paint on the walls without fear.”
“Great way to collaborate.”
“The painting and a chance to be creative.”
How did you come together as a team?:
“Building off others’ ideas”
“We each expressed which design we liked best, which turned out to all be a radial style.”
“Randomly! We all pitched in. It was fun!”
“Some people created the design, others painted, and some procured support and music.”
How can collaboration strengthen or build professional relationships?
“We had to listen to each others opinions and feedback and take turns.”
“Allow others to shine in their place of strength”
“Collaboration is the key to completion of a project.”
“Finding common ground can help bond.”
“Collaboration builds communication.”
“Letting each other know their ideas are valuable by building a complete idea together.”
How can the PD inspire your work or teachings…?
“Find more ways to collaborate in my classroom.”
“Bringing fun back to learning without pressing to meet expectation.”
“Get another perspective from others.”
“Teach students to recognize opinions and differences. Be willing to work with others.”
“Thinking outside of the box.”
“Teach kids to collaborate and respect each other!”
“Putting together a fun activity to involve students.”
“Teamwork. Unity. Friendship.”
Lastly, a lasting effect the murals have had is the teachers actually using them to teach with!!! In the past week, I have seen at least two teachers using them. And that’s enough for me to call it a lasting success of collaboration, cross curricular connection, and school beautification! I overheard one of our Autistic Support classroom teachers having her students identify letters hidden in the first floor mural, and our 4th grade teacher had her students identifying all the polygons, tetrahedron, etc. She took the project even further and is having her students work collaboratively to create their own mini geometric tape designs!! Way to go Mrs. Austin!!! I love it! I can’t wait to see the final pieces!!

 That was not easy. But I got a good arm workout!


")


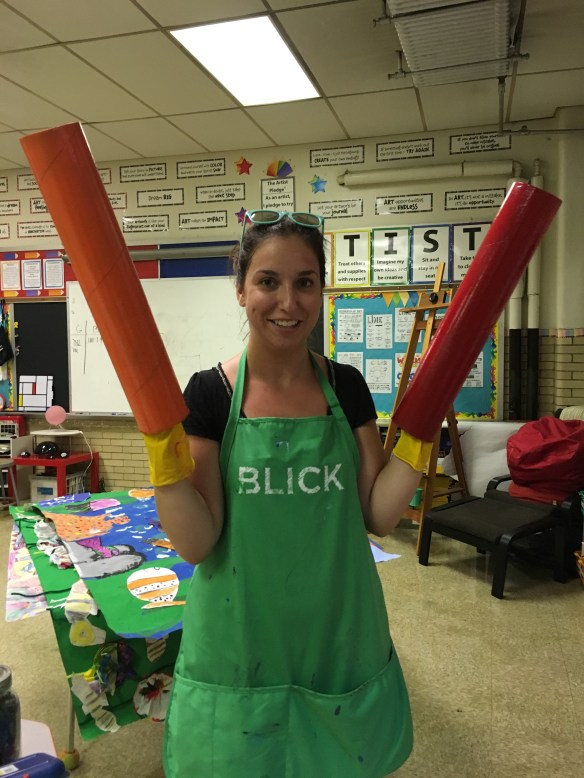 This is Ms. Katy who helped me. Yay Katy!! Thanks again!!